
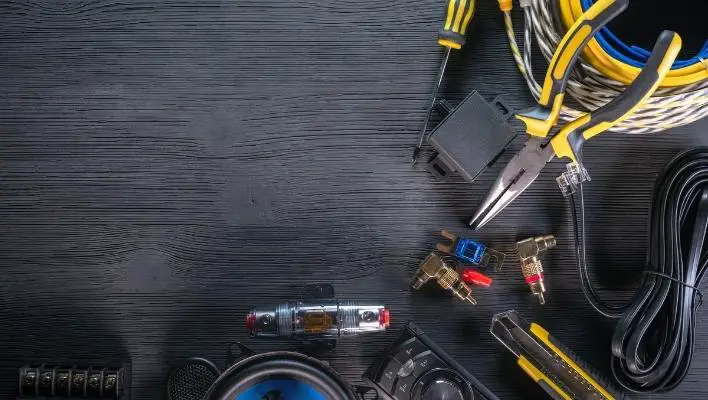
Factory car speakers that come inbuilt into your vehicle are often not designed for long-term use. This is because the materials used to make the speakers degrade gradually. Luckily, there are tons of aftermarket speaker systems and accessories you can install to boost the audio capabilities of your sound system.
The best part about aftermarket car speakers is that they come with standard color codes that allow you to use the existing wiring harness to install the speakers. That way, all you have to do is to identify the wires and plug them into the head unit.
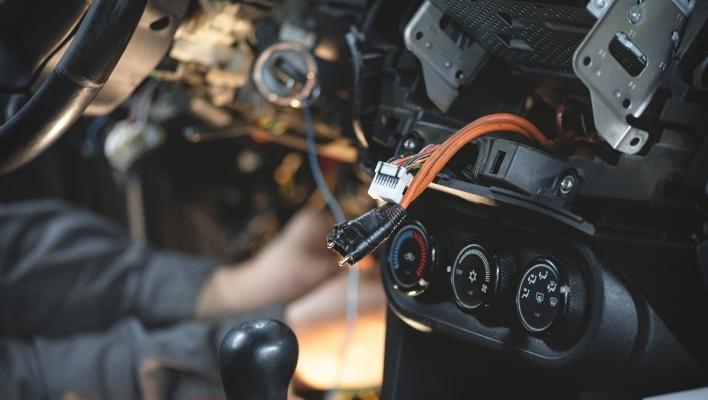
However, this method of plug-and-play is not always an option. Some car stereos, especially older models, may not include the harness leaving you to deal with bares wires. While installing car speakers without a harness is a bit complicated, it is still doable. In today’s article, we’ll teach how to wire a car stereo without harness.
How to wire car speakers without harness
Generally, most car stereos are composed of up to four conventional speakers, which translate to eight points of connections (i.e. connections for both the positive and negative terminals). As such, when installing new speakers you’ll need to take note of speaker polarity to avoid confusion.
As we have mentioned, installing car speakers without a harness is relatively complicated, and it requires patience to get the job done. In addition, the process of connecting different car speakers may vary depending on the type of vehicle and individual components of your entertainment system.
Now, if your car stereo is not equipped with a wiring harness the easiest way to install your speakers is by fabricating a customized wiring harness. Once you’ve assembled your tailor-made harness, you can go ahead and install the speakers, either through the soldering method or through crimp connectors.
Soldering method
The soldering method is by far the most popular method used to add car speakers without a harness. While using this method, the first step you’ll need to do is fabricate a pinout in the car radio where car speakers need to connect.
While doing so, you’ll need to identify all the speaker wires and separate them with the power and ground wires. The good thing is that most car stereo systems come in standard color codes to let you know which wires to use for the speakers.
Ideally, the speaker cables will come in the same color, regardless of the type of car or car stereo you are trying to upgrade. The standard colors for car speakers are;
White cables
The white cables are used to connect your left front speaker to the head unit. The plain white wire goes to the positive terminal, while the one with a black stripe is for the negative.
Grey cables
On the other hand, the grey cables are used to hook up the right front speaker. Ideally, the grey one goes to the positive, and the grey with a black stripe goes to the negative terminal.
Green cables
The green cables are used to add the left rear speaker to the car stereo. For the positive terminal, you’ll need to use the green wire, while the green with black stripe wire is for the negative terminal.
Purple cables
The last set of speaker wires is the purple cables. This pair is used to connect the right rear speaker to the corresponding wires of your head unit. Just like with other wire sets, the plain purple wire connects to the positive, while the one with a black stripe is for the negative.
Ideally, you’ll need to keep these color codes at your fingerprint when installing your car speakers. Having incorrect connections is dangerous, plus it means the audio will be reproduced from incorrect speakers.
Soldering involves joining the speakers using a soldering iron to melt the wires together before using a heat shrink tubing to seal them off and keep them together. Now, before you solder the wires you’ll first need to positively identify all speaker wires and match them manually with the corresponding wires on the car stereo.
You’ll then need to strip one end of both the speaker and radio wires before you solder them together. This is then followed by putting a heat shrink tubing around the soldered wires to keep them in place. For best results, you can opt to use a hair dryer or any other heating appliance to seal them off.
The best thing about using the soldering method is that the soldering kit is readily available, plus the technique is more effective. The chance of making errors is also minimal, and once the wires are soldered they don’t come apart easily.
Using crimp connectors
This method, just like the soldering method, employs the same principle of stripping and joining two wires together. However, instead of using a soldering iron, this method utilizes terminal connectors (i.e. crimp clamps) together with a crimping tool to join the wires, thereby forming a connection.
Once you’ve stripped the wires, all you need to do is fit the crimp clamps and use your device of choice to press them down. Much like with the soldering method above, you may want to familiarize yourself with the color codes to let you match the speaker wires correctly.
Parting Shot!
Wiring harnesses offer a quick and more user-friendly way of adding car speakers and other components to the head unit. But, do you need a wiring harness for an aftermarket radio? While the usefulness of a wiring harness cannot be overlooked, we’ve determined that it is still possible to connect an aftermarket car audio without a wiring harness.
As such, a wiring harness is not an absolute necessity, provided that you have access to any of the two connecting methods stipulated above. Both methods will yield the same results while ensuring that the connections are safe and secure.