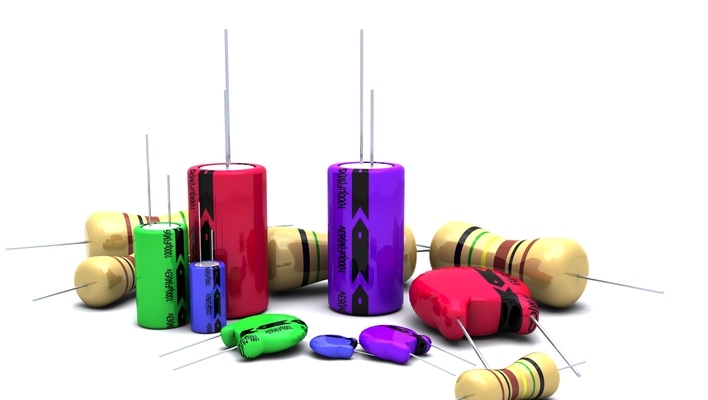
One of the most important things that any car owner needs to be familiar with is learning how to charge a car audio capacitor . Car stereos draw a large amount of power from the battery and the car’s electrical system in general. This will not only strain the amplifier and your system but also dim the lights and make your music sound weak.
To prevent a dip in voltage, you’ll need to install a capacitor just next to the amplifier. Capacitors provide your car audio with quick jolts of power while ensuring that your components remain at peak performance. However, in order for the capacitor to work optimally, it must be fully charged.
When charging a capacitor you’ll need a proper power source, the pathway, and ultimately the load. The load, in this case, acts as the intermediary that allows the current to flow throughout the circuit. Most people utilize a resistor as the load to charge car audio capacitors. So, what happens when a resistor is out of reach? Can I charge a capacitor without a resistor?
Yes, you can charge a capacitor with any other load provided that it can deliver the required voltage. In this article, we’ll provide a step-by-step guide on how to charge a capacitor without a resistor. But first, let’s discuss the role of a resistor and why it is needed when charging a capacitor.

Why do I need a resistor when charging a capacitor?
If you connect a capacitor directly to the battery, it might cause a short circuit, and in most cases, you’ll experience sparks while connecting. A resistor, just as the name suggests, helps to resist or limit the electrical pressure without interfering with the rate of charge. It also helps to reduce the likelihood of electric shock, especially when using a damaged power supply (NB: Using a highly damaged power is not recommended at all).
How to Charge a Capacitor Without a Resistor
Step 1# Hooking up the power source
The first thing you’ll need to do when charging a capacitor is to connect the power source. First, unplug the fuse that connects to the battery and wire up the capacitor as per your installation manual. Next, connect one end of a wire to either terminal of the capacitor and the other end to the battery (positive terminal).
Step 2# Connect the load
The simplest and best way to charge a capacitor without a resistor is by using a test light. For this step, you’ll need to get another wire and connect one end to the remaining terminal of the capacitor and the other end to one terminal of the test light.
Step 3# Connecting the load to the battery
Strip another wire and connect one end to the remaining terminal of your test light. At this point, you can connect the other end of the wire to the negative end of the battery to complete the circuit. You can use standard alligator clips and battery holders to hold everything in place.
Step 4# Set the multimeter
The next step involves putting in place a multimeter for the voltage reading. You can use a multimeter to check the charge level (i.e. voltage) during or after charging the capacitor. For this setup, you’ll need to use extra wiring to connect the multimeter to the capacitor.
Step 5 # Charging the capacitor
Once everything is connected, the test light will begin to give out some light, and in the process, it will charge the capacitor. Observe the readings on the multimeter. Typically, the capacitor readings should be the same as or approximately equal to the voltage of the battery. For instance, a 12V car battery will only charge the capacitor to the 12V capacity. When the bulb begins to dim or goes out, it means that the capacitor is now fully charged and ready for use.
How long does it take a capacitor to charge without resistor?
The time you need to charge a capacitor without a resistor will vary depending on a range of factors. For instance, a large size capacitor will take more time to be fully charged when compared to a capacitor with a relatively small capacity. On average, most capacitors will take up to 5 minutes at most to charge fully.
Parting Shot!
When charging a capacitor, you’ll often need to wire a resistor between the capacitor and the car battery. The best part is that most capacitors come with a resistor, but you can always get one separately if needed. However, in absence of a resistor, you can implement other loads such as a test light to charge your capacitor. Regardless of whether you use a resistor or test light, you’ll end up with the same results. In addition, always remember to follow the charging instructions that come with your capacitor.
