
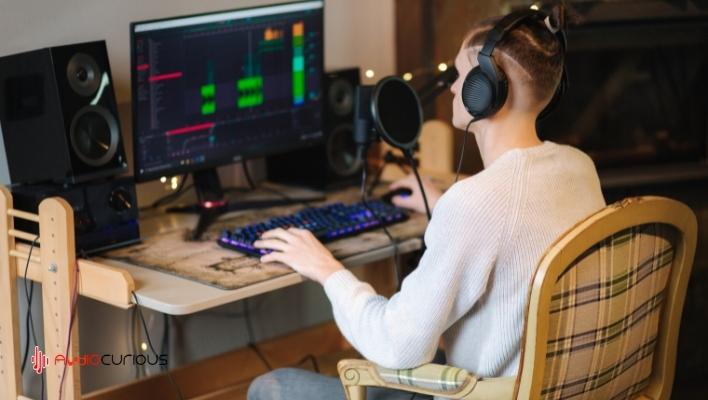
You might wonder, “Can you connect speakers to a monitor?” This is a question that comes up often, but it’s also one of the most important things you should know when building your first PC. A monitor and speakers are the two most essential parts of any computer setup.
First, let’s talk about why you need to connect your speakers to your monitor. Sound is essential for how we interact with computers and software. There are two ways to get sound from your computer: through speakers or headphones.
Headphones are fabulous for listening to music or watching movies because they block out the rest of the world and allow you to focus on what’s playing on the screen. However, not everybody fancies headphones, mainly because they are tiresome to the ears.
That’s where speakers come in handy; they transmit sound from the computer into your room so you can hear it clearly. You don’t have to wear headphones or hold up a microphone close enough that it picks up all the noise around you (which could include people talking nearby).
Connecting multiple speakers creates surround sound. This means that instead of each speaker only reproducing audio in one direction (left-right), they can reproduce both left and right sounds simultaneously. So, how do you connect them for optimal sound? Read on.
Reasons to Connect Speakers to Monitor
Speaker systems are an essential component of any sound system. There are many reasons to connect speakers to monitor, but here are some of the most common:
1. To improve your listening experience
When you’re playing music or watching a movie, you want to hear it as well as possible. Connecting a speaker system will provide a better-quality sound than having just one speaker and a TV or computer monitor.
A good pair of speakers will improve the quality of the sound so much that you’ll be able to hear things in the track that you have never noticed before.
2. To reduce distortion
If you have low-quality speakers and they’re being pushed hard by an amplifier or receiver, they’ll clip out at certain frequencies. This will cause distortion that makes listening difficult, if not impossible.
You can prevent this problem by connecting multiple speakers with a crossover frequency (such as 2 kHz). It ensures each speaker functions at its natural frequency without clipping out due to overlap at any particular frequency range.
3. Save money
We sometimes need good sound quality while using our computers and laptops at home or at work. When it comes to connecting speakers directly to our monitors, then it will save us money on buying expensive equipment. Such equipment includes; professional studio monitors, which can cost thousands of dollars even if they aren’t used very often.
4. To increase overall volume output from your amplifier or receiver without increasing its power level too much, which can cause damage to the unit itself if not done carefully.
What Cables Do You Need to Connect Speakers to Monitor
You’ll need the following cables to connect the speakers to your computer or monitor:
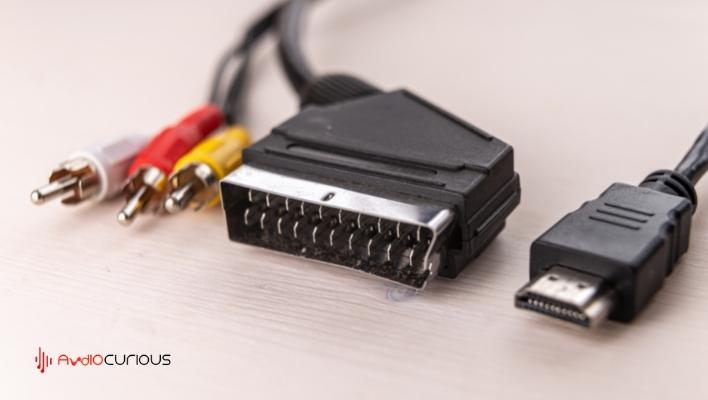
- Speaker cable – This is the wire that connects your speakers to the monitor. It can be either RCA or XLR. You will usually find one of each type with your speakers.
- A 5-foot or longer HDMI cable (a digital audio/video connector) for connecting to your display. This cable will work with any device that supports an HDMI connection, including newer Apple laptops and desktop computers.
- An audio cable that can connect from one of your sound devices (such as a receiver or home theater system) to the headphone jack on your computer. You can use one of these instead of an HDMI cable if you want to use a different audio output device than the speakers. If you’re using an audio cable, ensure it’s not too long — at least 4 feet (1 meter). Longer cables can cause signal loss and distortion problems because they increase resistance between the source device and the headphones or speaker.
- Speakers: RCA and 3.5mm stereo mini-plugs.
- Monitor/TV: RCA and 3.5mm stereo mini-plugs (the latter can be used with the TV’s speaker out port).
- Video input: RCA (or 2-pin mini-din) male connector (for example, composite video, S-video).
Remember that the plugs from your speakers will probably be different from what you have on your computer. The designations will likely be DIN for the plug and 3.5 for the hole on your computer. Shop for a pair of adapters at an electronics store or an online retailer like Amazon. After that, it should be pretty simple to plug them in.
How do I Connect My Speakers to My Monitor?
If you want to connect your speakers to your monitor, the easiest way is to use a cable with the appropriate connectors. This type of cable is called a DisplayPort cable and can be purchased at a computer store or online. The other option is to use an audio cable with one end for the left speaker and one for the right speaker.
If you use a DisplayPort cable, simply plug one end into your computer and then plug the other into one of your monitors’ ports. If you have multiple monitors, you can connect them all at once by connecting them to one of their ports with a single DisplayPort cable.
The other option is to use an audio cable so that each monitor has its own separate set of speakers attached to it. If this is what you want, then simply connect each monitor’s audio out port (usually labeled “Line In”) to its corresponding speaker port (usually labeled “Speaker”).
Step By Step Guide to Connect Speakers to Monitor
These are the simple steps to follow when connecting your speakers to your monitor.
Step 1:
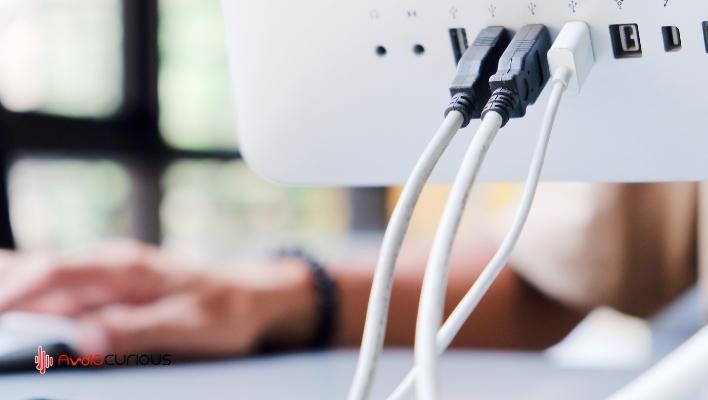
Plug your speakers into the back of your monitor. They should be on the left side, close to where you plug in your power cord.
Connect the audio output from your computer to the input on your monitor. The audio output on your computer is usually a 3.5mm jack, but you can also get an optical or HDMI cable to connect it directly to an external monitor.
Step 2:
Connect your monitor’s audio cable to your computer. The connection is usually labeled “Line In” or “Line Out” on the back of the monitor itself, or you may need to look up the correct one online.
Step 3:
Connect one end of an audio cable from your computer to one end of a second audio cable that came with your speakers.
Step 4:
Plug one end of the second audio cable into one side of your receiver or amplifier, and then plug it into one side of the speaker.
Step 5:
Connecting speakers to a TV is similar to connecting them to a computer, but there are some differences in terms of connectivity options. You’ll find two ports: RCA stereo jacks and composite video ports (often used for non-analog signals). If you have an older set of speakers, they may not offer either kind of port, so check before you buy.
Additionally, speakers with RCA stereo jacks (such as those used with turntables) will need both audio cables and an analog audio cable. These cables will connect them to the back panel of your TV, usually labeled “L/R” or “Left/Right”. This is because RCA jacks only send one sound channel at a time: left or right.
How do I Set Up My Speakers After Connecting them to My Monitor?
When you connect a pair of speakers to your computer, Windows automatically detects the speakers. If you want to configure the speakers and sound settings, click the speaker icon in the notification area.
If you have a laptop, open System Settings > Hardware and Sound > Audio.
Once you’ve connected the speakers to your computer and they don’t detect automatically, you’ll need to configure them. You can do this by using the speaker’s built-in controls or the audio input on your computer.
On your computer, open Windows Sound Settings by right-clicking on the speaker icon in the notification area and selecting “Playback devices.” Choose “Speakers,” then choose Speakers from the dropdown menu at the bottom of the window.
Once there, click on Advanced > Configure Default Enhanced Stereo Speaker Configuration and choose Stereo Output Device from the dropdown menu. This will select which device you want to use as the default output device for both Left and Right channels.
Other options include Front Left and Front Right, depending on what type of speaker setup you have.
Final Word
It’s a fact that sound is an excellent addition to your viewing experience. If you want to get the most out of your investment, attaching speakers to monitor will undoubtedly pay off.
There is no right or wrong way to connect the speakers. This is why following our guide on how to connect speakers to monitor is essential. As long as everything is connected correctly, you’ll be able to hear sound from your computer monitor.
The only caveat is that you need to use an audio cable compatible with your computer monitor and speakers (as well as additional hardware). If possible, try to use Plug and Play instead of doing a custom installation on your computer.
Also Read: Direct Sound vs WASAPI—Which Is Best For Beginners?
If your built-in speakers are having trouble cutting it, you can always get a decent 2.1 or 2.0 setup to complement your monitor. This way, you’ll have sound no matter what. Best of luck connecting those speakers. Hopefully, we’ve been able to help you out.