
Capacitors play various roles in the music system. They store electric charges, control reactance and ensure that the amplifier can get the power it needs to provide high-quality music. Without a capacitor, the amplifier can draw a lot of power from the battery and leave it too dry to power up your vehicles’ lighting and other features.
It is crucial to note that capacitors don’t come charged. This helps to prevent voltage surges during installation. On the other hand, you cannot install an empty capacitor. Doing this can lead to rapid current inflow and result in sparks that can harm the capacitor, the music system, and other electrical components.
Therefore, it is essential to know how to charge a car audio capacitor before installing it and keep your audio system safe.
What a Capacitor Does to Your Car Audio
A capacitor helps to avoid straining the battery and alternator. Without it, you can have an imbalance in power supply, and this can cause several systems in your car to malfunction. For example, suppose your amplifier consumes a lot of energy and does not have a capacitor. In that case, you may have very dim lights whenever you play music in your car resulting in poor visibility.
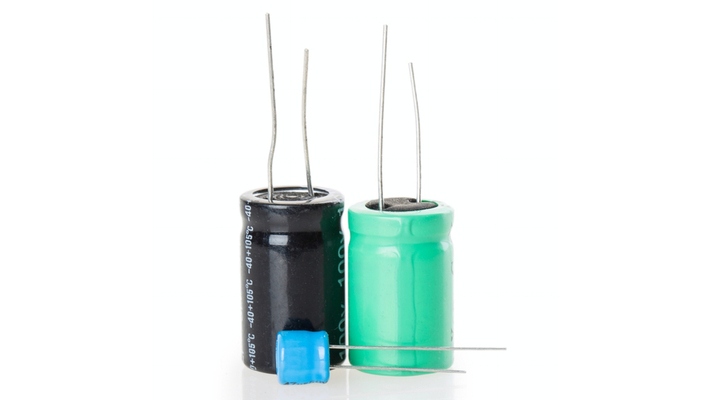
There are different types of capacitors that your audio system can use. These capacitors vary in terms of the energy they can contain and how much time they take to charge. However, several car audio systems use ceramic capacitors.
Though capacitors take less time to charge and store less energy when compared to batteries, you can charge them to a maximum voltage level and get the best out of them. Depending on the setup, you can charge the capacitor with the help of a testing bulb or using its charging tool.
How to Charge a Capacitor with a Resistor
Several capacitors include a charging tool which is a plate with four wires and a resistor. The resistor adds a load to the circuit, and this ensures that the capacitor is charged. Some of the tools or items that you may need to use when charging a capacitor with a resistor include:
- Multimeter or voltmeter
- Power wire
- Memory saver
- Connector
- Pliers
- Wire strippers
Here are the steps that you should take when learning how to charge a capacitor with a resistor.
To charge the capacitor, connect the negative wire of the charging tool to the negative terminal of the capacitor and vice versa. After that, wire the capacitor’s positive terminal to the car battery’s positive terminal and connect the capacitors negative terminal to the car’s ground chassis, but not where the amplifier is grounded.
The capacitor will start charging as soon as you make the last connection. After at least three minutes, configure your multimeter to measure direct voltage and put the probe on the end of the charging tool to know the reading.
You may also read our Reviews and Buying Guide on Best PA System for Cars and Trucks
If the capacitor is charging, the reading will start to increase gradually. If the multimeter stops to give any reading or gives a reading of 12V, it may indicate that your capacitor is fully charged. Remove the charging tool’s ground, then safely remove the other wires from the other terminals.
How to Charge a Capacitor Without a Resistor
You can fully charge your capacitor even when you do not have a charging tool or a resistor to complete the circuit. To do this, you will also need to have a 12V light bulb, alligator clips, and a light bulb socket.
When charging a capacitor without a resistor, place it close to the car’s battery and use a wire to connect the battery’s positive terminal to the positive terminal of the capacitor. The negative terminal of the capacitor should be connected to the car’s chassis.
Use another wire to connect the two terminals on the light bulb socket in series and touch the end of the same wire to the battery’s negative terminal.
Using alligator clips, hold the test light and place it between the capacitors positive terminal and the battery’s positive terminal. Hold the bulb in place for a few minutes and wait for it to turn off. The 12V bulb will only turn off when the capacitor is fully charged. Remember, the bulb should be connected in series with the battery’s positive terminal and the capacitor.
How Long Does It Take to Charge a Capacitor?
On average, a car audio capacitor takes at least five minutes to charge fully. Of course, this depends on its size. Remember, regardless of the charging method you use, the end results will be the same.
To know if the capacitor is fully charged, you can check the current value using a voltmeter or a multimeter. Before installing the capacitor, you should ensure that it has a minimum of 12V. To check the voltage using a multimeter, connect the red or the positive probe to the positive terminal of the capacitor and the negative probe to the negative terminal.
If the capacitor has failed to charge, you should check if it was in a complete circuit before trying to charge it again. If the circuit is complete, the capacitor may be damaged, and you should consider replacing it.
Final Word
Use this guide to safely learn how to charge a car audio capacitor before installation. Since you rely on several critical systems in your vehicle, such as the lighting system, to stay safe, a capacitor will ensure that you keep enjoying music in your car and allow the battery to concentrate on ensuring that such systems work as needed. Keep your eyes on Audio Curious to see what our experts say and learn more about capacitors.