
Modern receivers come with pre-outs, but what if yours has none? Don’t panic. Use this guide when connecting an amplifier to a receiver without pre-outs.
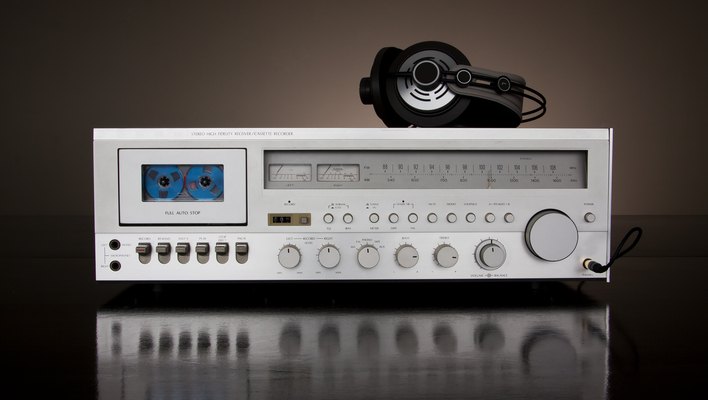
Receivers are simple yet complicated devices for anyone new to home and car audio. Some have in-built amplifiers, while others require external standalone amplifiers to deliver juicier bass and mids from your home and car entertainment system. But to work with an external amplifier, your receiver uses pre-outs to establish a connection that carries the audio signal in its raw form to the amplifier.
Unfortunately, not all receivers come with pre-outs. For instance, older models have RCA outputs and other categories of outputs that can be leveraged to serve the same purpose as pre-outs. Besides, recent high-end receivers with pre-outs can be quite expensive, making them an unnecessary expense if you already have a receiver.
Can you connect an amplifier to a receiver? Yes, it’s possible. Even without pre-outs, your receiver and amplifier can still work together, meaning that you don’t have to seek an alternative receiver if yours has no pre-outs. There are several ways to hook up your receiver if it has no pre outs.
What Do Pre Outs Do?
A pre-out is used to connect an external amplifier to the receiver. This ensures that your subwoofer and other speakers receive more power from the external amplifier. Technically, if you are working with a receiver that has an inbuilt amplifier, using pre-outs turns this receiver into a preamp/processor. The signal passes through your receiver without being tampered with and finally gets boosted by the external amplifier.
Using pre-outs takes the excess load from your receiver and delegates the task to the external amplifier. By handling the amplification process, your external amplifier improves your system’s efficiency. Pre-outs are very important for several reasons. For starters, they can be used safely with an external amplifier without any risks of damage.
However, having pre-outs on your receiver has its drawbacks. For example, many receivers with pre-outs don’t come cheap. You might end up spending more to get the same value you would by connecting your receiver with the external amp through a speaker level to line level adapter.
Another big disadvantage of receivers with pre-outs is that they consume more power than those without. If your receiver already has pre-outs, it will definitely deliver an unmatched experience and make your home theater system and car audio perform at their best. This comes at a cost. The receiver will consume more power in the long run.
It is quite common to find receivers with pre-outs today, especially the higher-priced models. But what if my receiver doesn’t have pre-outs? Here’s what you need to do.
How To Connect An Amplifier To A Receiver Without Pre-Outs
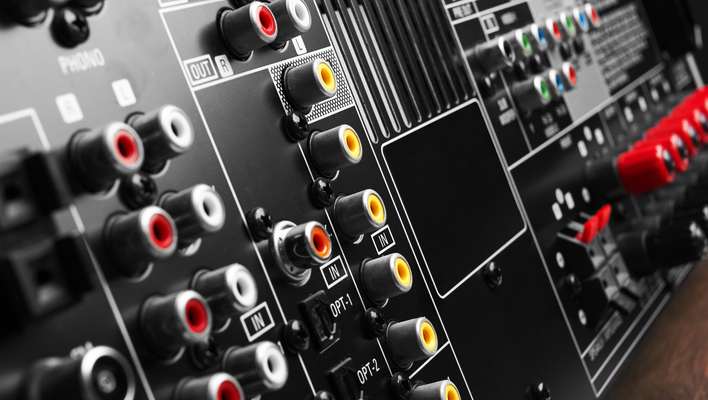
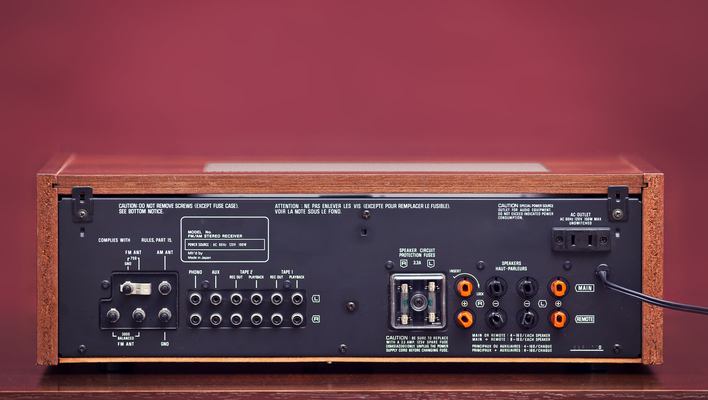
Receivers have a number of connector types lined up at the back. It can be overwhelming to find the right connectors, but once you figure out where to tap your new, high-powered external amplifier, your work is half done. Some of the most common connectors in an average receiver include speaker outputs (which consume most of the space behind the receiver), pre-outs (not present in most older receivers), video inputs and outputs, analog in, and much more.
Speaker Level to Line Level Interface
If your receiver doesn’t have pre-outs, a speaker level to line level interface is one of the easiest ways to deliver power to the external amplifier. A speaker level to line level interface is basically an adapter with two speaker inputs, and two interconnect outputs. It is used to convert a speaker-level signal to a line-level signal, which is then sent to a more powerful external amplifier.
First, take the speaker wires from the receiver and insert them into the adapter inputs. Next, use interconnects to carry your signal out of the device to the external amp through the female RCA outputs. Unfortunately, a speaker to line level adapter is not designed to work with digital amplifiers. However, it works smoothly with a high-powered amplifier.
Speaker level to line level adapters have found their way into home stereos and car audio, and so far, so good. Issues such as distortion are not frequently heard of unless you have faulty equipment or the wrong crossover settings. Should you encounter noise, humming, or audible distortion from the final output, adjust your amplifier settings. Check your gain control, the volume, and crossover settings since these are your most likely culprits.
Also, handle the adapter delicately while opening the snap connectors for your speaker wires. A standard Russound speaker level to line level interface accepts up to 14-gauge wires.
Use a Line Output Converter
A line output converter is usually paired with factory radios, but did you know that it can also be used for connecting an amplifier to a receiver with pre-outs? Basically, a line output converter enables you to establish a connection between a receiver without preamp outputs to an external amplifier. A line output converter converts a speaker level signal (an amplified signal) to a line-level signal (the signal before amplification).
Before getting started, it is important to mention that line output converters are best for car audio. Using a LOC is not recommended for home audio because most line output converters are designed for car audio and can only take up a low power input. When used for home audio, a line output converter may face issues with higher power input.
The process of installing a line output converter on your receiver is almost identical to installing a LOC for your head unit. First, you need to shut down the entire system to avoid electrical surges and potential damage. Next, you need to access the receiver’s wiring and find the speaker wires using a wiring diagram.
Strip the insulation from your speaker wires and connect them to their rightful channels, i.e. front right to front right, and front left goes to front left. Use butt connectors or solder the wires together to ensure that they have a firm connection. Finally, use RCA cables to connect the LOC to your external amplifier and enjoy your music.
This method works fine from an expert point of view. However, you may notice a few instances of audible distortion if your line output converter is not designed to handle such power. Always look for the best equipment from top-rated brands to avoid unnecessary issues.
Use the Headphone Jack (AUX Cable)
The headphone jack is another way to connect your amplifier to a receiver without pre-outs. Before diving deeper into AUX cables, it is essential to point out that your receiver will only play stereo sound output when connected to an external amplifier using a headphone jack.
All you need is a headphone to RCA adapter with a 3.5mm jack. On your receiver, locate the headphone jack and plug in your 3.5mm AUX to RCA cable. Next, locate the RCA inputs on your amplifier and insert the two RCA ends from the AUX to RCA cable.
Zone 2 Outs
Some receivers feature Zone 2 or Zone 3 outs which allow the receiver to connect easily to an external amplifier. They are mostly found on home theater systems and are used to send another source signal to your speakers. If your receiver has no pre-outs but has a Zone 2 or Zone 3 feature, use this to hook up your receiver to an external amplifier.
Since Zone 2 outs offer an RCA connection type, it is easy to connect them to the RCA inputs on your amplifier. Basically, a Zone 2 out allows you to send a source signal to another system, and you can tap this signal and feed it to your amplifier.
Add Your Own Pre-Outs
If nothing seems to work, adding your own pre-outs to the receiver could be your salvation. However, learning how to add pre outs to a receiver is not for everyone. It requires extensive knowledge of electrical circuits and their components and how to bypass certain elements and tap into a signal at a certain point. That is why this method is best left to audio experts with a deeper understanding of what connections have to be made.
If you still wish to proceed, here’s what you need to do. First, find a schematic for your receiver and use it to map out where you should tap your pre-outs. A schematic will also ease the process of finding the necessary modules and circuits. You can find your receiver’s schematic online or buy one from a trustworthy source.
Switch off the receiver and disconnect it completely from the system. Next, unscrew the outer casing to reveal the circuitry inside. Once you’re in, you’re going to see the power transformer, a heat sink, WiFi antenna, and circuit boards. Locate the amp modules and tap into the external jacks.
Attempting a bypass like this is an advanced procedure. It would be best to contact an expert on the matter because a simple slip could render your entire receiver useless.
Also Read: Stereo Receiver vs. Integrated Amplifier: Which is a Better Choice?
Final Thoughts
Connecting an amplifier to a receiver without pre-outs sounds like a daunting task, but it doesn’t have to be. The best thing you can do for your system is to find a good receiver with already installed pre-outs. These do not have many complications, like installing your own pre-outs. However, if buying a new receiver is not part of your plan, this article should help you establish a connection with your external amplifier and enjoy some top-quality, soothing music in your car or home.