Noises from your car’s speakers or subwoofers can overpower and damage your car stereo if left unchecked. To lower the noise level in your vehicle, you need to install a car audio capacitor. It may seem like a minor upgrade for your car’s interior, but it improves your vehicle’s overall sound quality and general performance.
This article will provide every DIYer with easy tips on how to test car audio capacitors. But before that, let’s understand the working of a car audio capacitor.

What’s a Car Audio Capacitor?
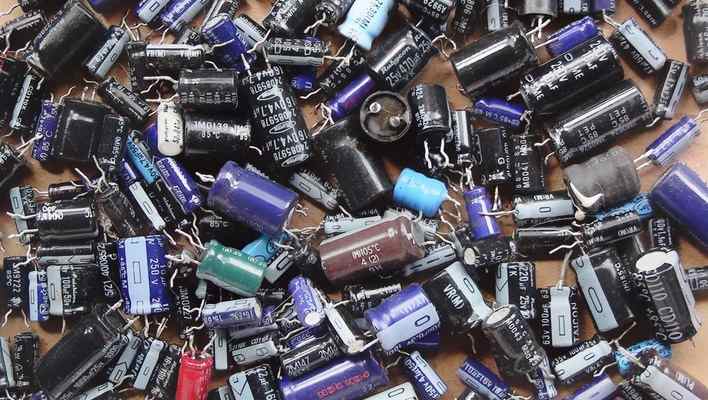
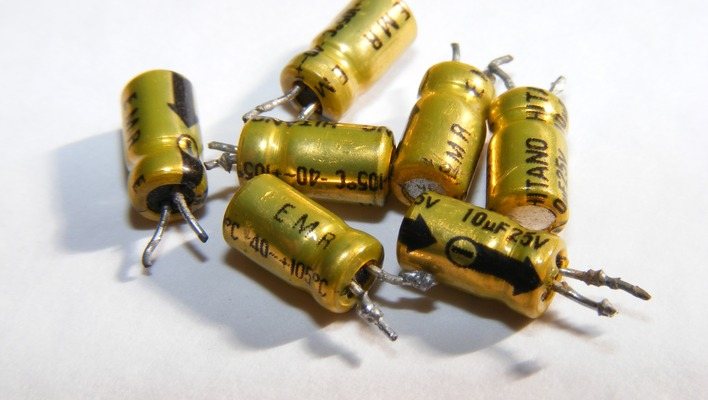
A car audio capacitor is a device that stores energy from an alternator or battery. It’s made of two plates with a dielectric material in between and is used to ensure that your car’s electrical system stays charged.
This component helps your car’s stereo system filter out unwanted noise and provide higher-quality sound. And it’s often used in conjunction with a car amplifier, which boosts the power of your car audio system so you can get more volume from it.
Methods on How to Test an Audio Capacitor
Testing a car audio capacitor is a simple process. The most important thing to remember is that you want to avoid damaging the farad capacitor. So, which are the mandatory tools to brace yourself with when beginning your project?
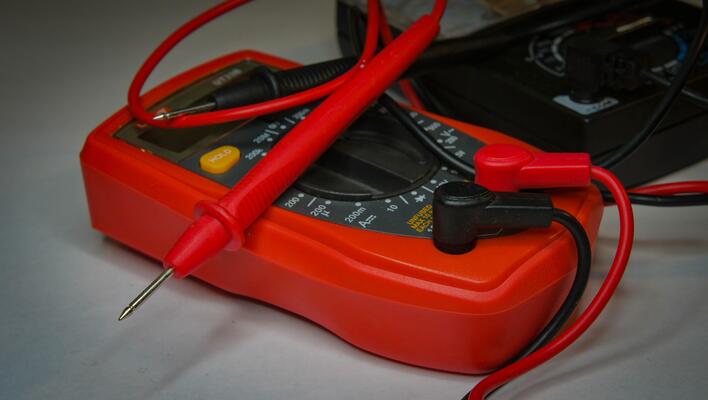
- A multimeter with a DC voltage range of 0-100V. This will allow you to test the capacitor’s voltage output.
- A set of wire strippers. To check the continuity of the music wire, you’ll need to strip off some insulation from it.
- A pair of needle-nose pliers or cutters for removing the old capacitor from the circuit board
- Soldering iron and solder to solder in your new capacitor if needed (or if you want to replace it)
Method 1: Ring Test
This method relies on the fact that most capacitors have an audible ringing noise when shorted out. If you put your multimeter in continuity mode and touch the probes to each end of the capacitor, you should hear two distinct tones. If there is only one tone, your capacitor is likely shorted out.
Lack of sound means that your power capacitor is defective or needs to get charged before you carry out the ring test. So how is it done?

- Connect the negative lead from your multimeter to the negative terminal of your power supply; in this case, your car battery.
- Turn on the multimeter and set it to measure DC voltage.
- Touch the positive lead from your multimeter to one end of the capacitor, and then touch one end of another capacitor to the other end of its tip.
- The reading should be between 0 and 100 volts, depending on how much charge gets drained from your original capacitor.
If the reading is lower than 0 volts, you have found a lousy power capacitor that needs replacing. If it’s higher than 100 volts, there is still some charge left in this capacitor, and you should keep it in place until you can do further testing.
Method 2: High Voltage AC Test
Here’s how to test a car audio capacitor using a high voltage AC test :
- Set the multimeter to DC volts, and then set it to measure at 10V or more.
- Connect the positive probe of your digital multimeter to the positive terminal of your car battery, and then connect your ground probe to the negative terminal of your car battery.
- Disconnect all other electrical components from your farad capacitor if you have not already done so.
- Place one end of your capacitor in contact with one end of your resistor. Ensure that both ends touch each other securely, so there is no chance of them coming apart during testing!
Method 3: Physical Observation of Symptoms
Here are some of the general symptoms of a bad car audio capacitor.
- A loud buzz coming from the car speakers that doesn’t go away until you turn off the radio or music player. This could be caused by faulty capacitors or an issue with the speakers themselves.
- You’re having trouble finding stations, or the station you’re listening to gets cut off in the middle of songs.
- If you’re having trouble with the sound quality or volume control on your radio, it’s time for you to look at your audio capacitor.
- The car’s battery may drain quickly.
- Your car’s volume suddenly decreases or goes silent while you’re driving
- Your radio sounds distorted, especially when listening to music with bass instruments
- If you notice that your headlights flicker when turning on the radio or adjusting the volume
- Finally, if you’ve noticed these symptoms and then suddenly start seeing sparks flying out of your dashboard. Then, there’s something wrong with your capacitor!
Method 4: Capacitance Mode
Testing a car audio capacitor using the capacitance test is an easy to diagnose issues with your car audio system quickly.
- Disconnect the car battery’s negative terminal and place it on a grounded surface.
- Connect one end of a test lead to the negative battery terminal, and connect the other end of the test lead to the ground.
- Connect one end of another test lead to the positive battery terminal, and connect the other end of this second test lead to the ground.
- Set your multimeter to measure capacitance (most multimeters will have this setting as “C” or “capacitance”).
- Place both leads from your multimeter on either side of the farad capacitor being tested; you should see a reading appear on your multimeter screen.

Method 5: Leakage Test Using an Ohm Meter
If your capacitor is leaking, it may be time to replace it. Here’s how to test leakage of your audio capacitor using an ohmmeter:
- Connect the positive lead of your ohmmeter to one terminal of the capacitor and the negative lead to the other terminal.
- Adjust the dial on your ohmmeter until it reads zero ohms.
- Remove the leads from their respective terminals and reconnect them to the opposite terminals. If the meter reads anything other than zero ohms, there’s a short or leak in your capacitor, and you should replace it immediately!
Choosing the Right Audio Capacitor For Stereo System
Choosing a suitable audio capacitor for your car stereo system is key to getting the best sound out of your equipment. You want to make sure your capacitor can handle the power and frequencies that are output by your audio amplifier and that it will be able to do that for years without breaking down.

1. Size matters!
The size of your capacitor will depend on what kind of sound quality you want from your system. If you want a better bass response, you’ll need a larger capacitor. If you want a crisp treble response, then choose a smaller capacitor. Otherwise, the sound may get distorted due to voltage drop caused by increased resistance within your audio system’s circuit.
2. Consider your budget
If you’re looking for a high-end audio capacitor, you’re probably going to have to pay more than just looking for something basic. But even if you’re on a tight budget, there are still great options to explore!
3. Voltage Rating
The voltage rating of your capacitor will determine how much voltage it can handle before breaking down or shorting out on itself. Higher voltages require higher-rated caps; however, this rule doesn’t apply to film capacitors because they can withstand much higher voltages than other caps without breaking down or shorting out.
Which One Is Better Between Extra Batteries and Audio Capacitors?
Both extra batteries and an audio capacitor are great ways to improve the quality of your listening experience. However, your preferred option depends on your needs and set budget.
If you’re looking for something that you can use in diverse ways, an audio capacitor is your best bet. It’s small enough to fit in the palm of your hand, but it provides better sound quality than extra batteries. Plus, charging a capacitor is straightforward!
If you’re looking for something that will last as long as possible, extra batteries are perfect. They’re also easy to find and replace if you need them.
In Conclusion,
Testing car audio capacitors is critical to ensuring that your system works at maximum efficiency. Car audio capacitors are responsible for storing electrical energy, and they play a crucial role in keeping your system running smoothly. If you’re experiencing problems with your car’s audio system, testing the capacitors will help you determine whether or not they need replacing.
Contact us today if you have any questions about testing car audio capacitors!
